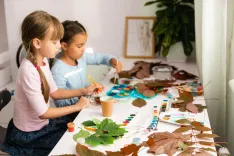
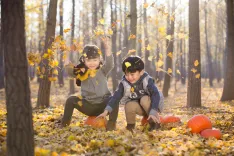
29 Toddler Fall Crafts Your Kid Will Actually Want to Do

The leaves are falling, the pumpkin spice is flowing, and your toddler has just handed you a fistful of crunchy leaves and a look that says "now what?" Good news: fall is basically the best season for toddler crafts, and it hands you free supplies right off the sidewalk.
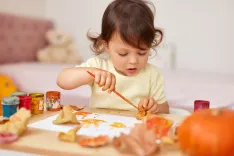
Every craft below lists exactly what you need and walks through the steps, so there's no mid-project dash to the store or guessing what comes next. Read through, grab whatever's already in your junk drawer, and pick the one that matches how much energy — and patience — you've actually got today.
Why Fall Crafts Are So Good for Toddlers
Fall crafts aren't just cute for the fridge — this is exactly the kind of hands-on play toddlers need at this stage.
- They build fine motor skills. Squishing play dough, tearing paper, and pressing a hand into paint all strengthen the same small hand muscles your toddler will later use to hold a crayon.
- They introduce colors, shapes, and textures naturally. Orange, red, and yellow leaves are basically a color lesson that doesn't feel like a lesson at all.
- They're a low-stakes way to practice following steps. "First we paint, then we press" is a tiny sequence — and toddlers are quietly learning to follow multi-step instructions every time they do it.
- They turn "I'm bored" into twenty focused minutes. Not every day, sure, but on the days it works, it really works.
- They make wonderful, genuinely low-cost keepsakes. A handprint pumpkin costs about ten cents in paint and turns into something grandparents keep for years.
Help your child
grow with Keiki
We’ll help you turn everyday screen time
into real learning progress.
Easy Fall Toddler Crafts
These easy fall toddler crafts are the ones to reach for when you want a win without a trip to the craft store — minimal supplies, minimal cleanup, maximum toddler satisfaction.
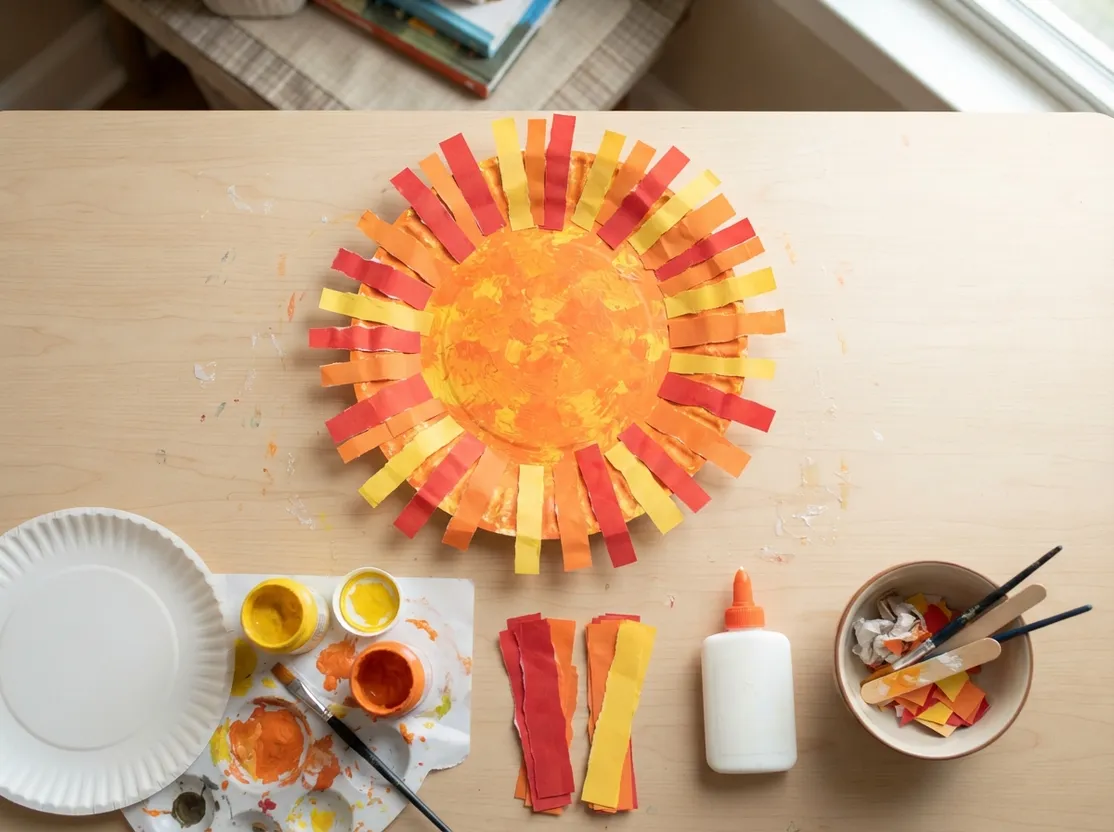
Paper Plate Sun in Fall Colors
You'll need: a paper plate, orange or yellow paint, red and yellow construction paper, glue.
Paint the paper plate orange or yellow and set it aside to dry. While you wait, tear the construction paper into short strips for "rays." Once the plate is dry, help your toddler glue the strips around the edge, spacing them out however they land.
Cotton Ball Tree
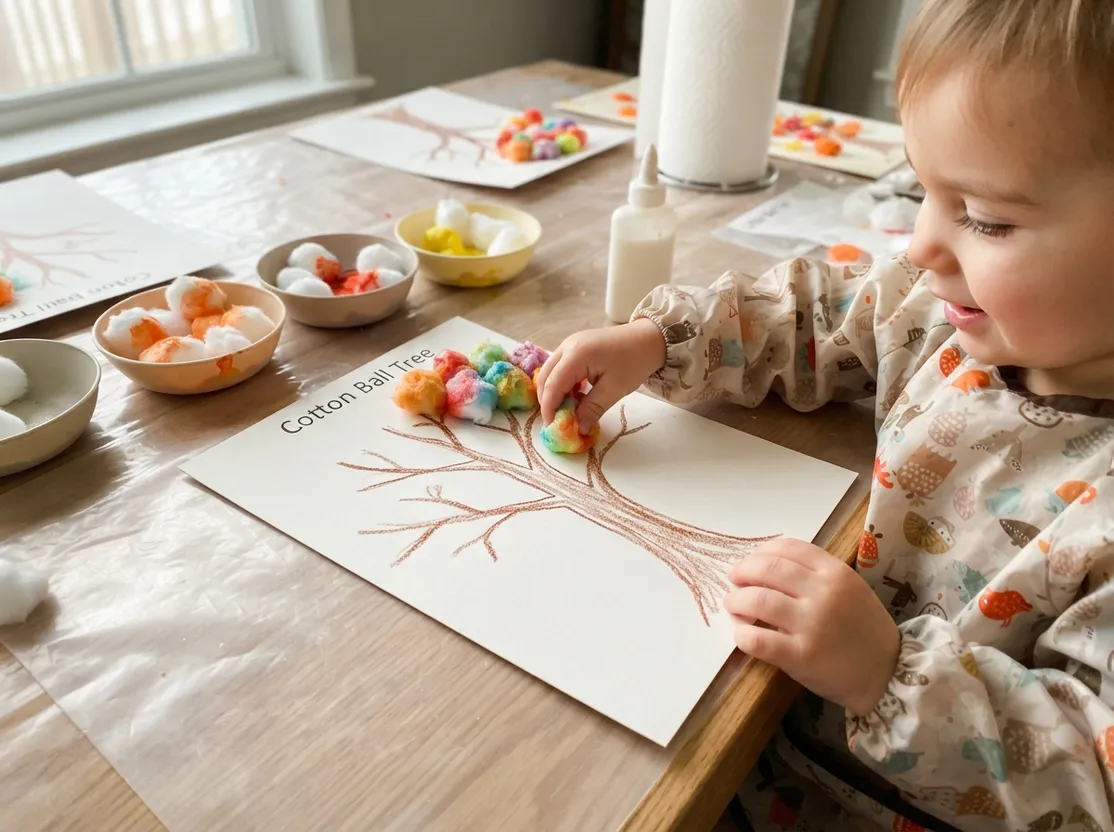
You'll need: brown paper (or a printed tree trunk), cotton balls, orange/red/yellow paint, glue.
Draw or print a simple tree trunk with a few bare branches on paper. Dip cotton balls lightly into paint to tint them fall colors, then let them air-dry for a few minutes. Have your toddler glue the tinted cotton balls onto the branches to build up a leafy canopy.
Handprint Leaf
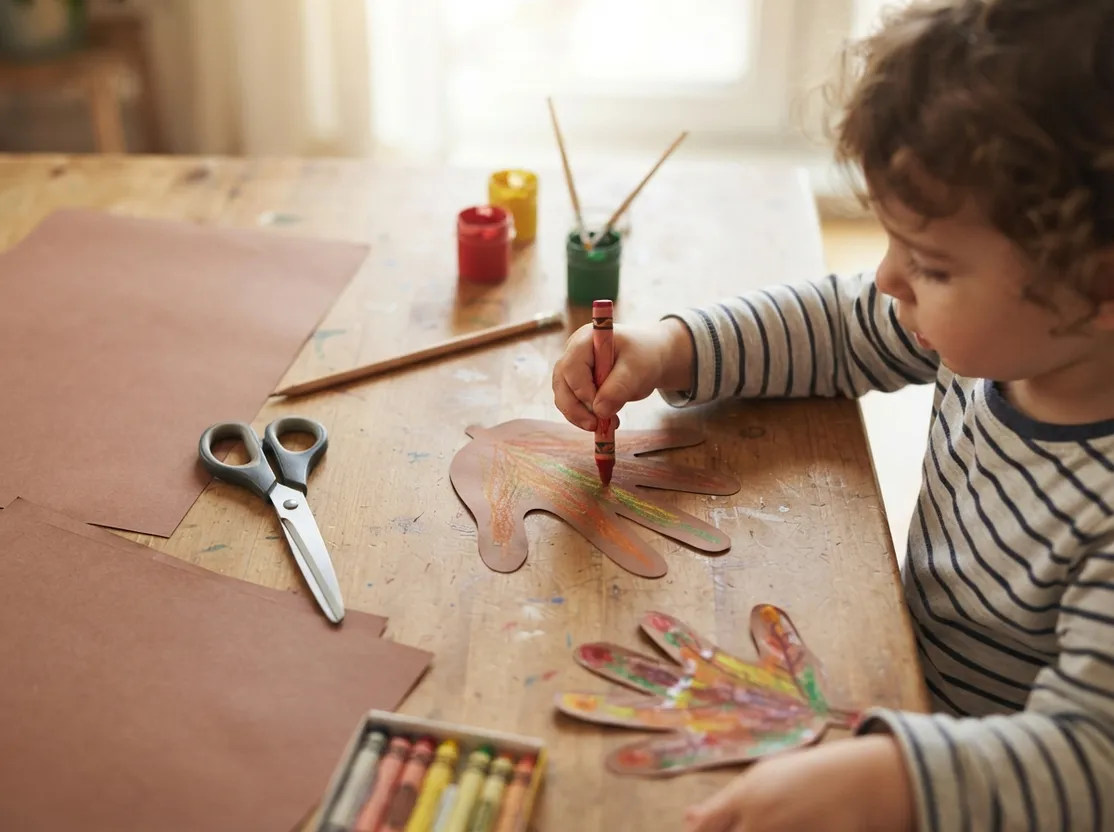
You'll need: brown construction paper, a pencil, scissors, crayons or paint.
Trace your toddler's open hand onto the brown paper with their fingers spread wide. Cut out the handprint shape yourself, since this step needs adult scissors. Hand it back to your toddler to decorate with crayons or paint so it looks like a leaf.
Torn Paper Collage
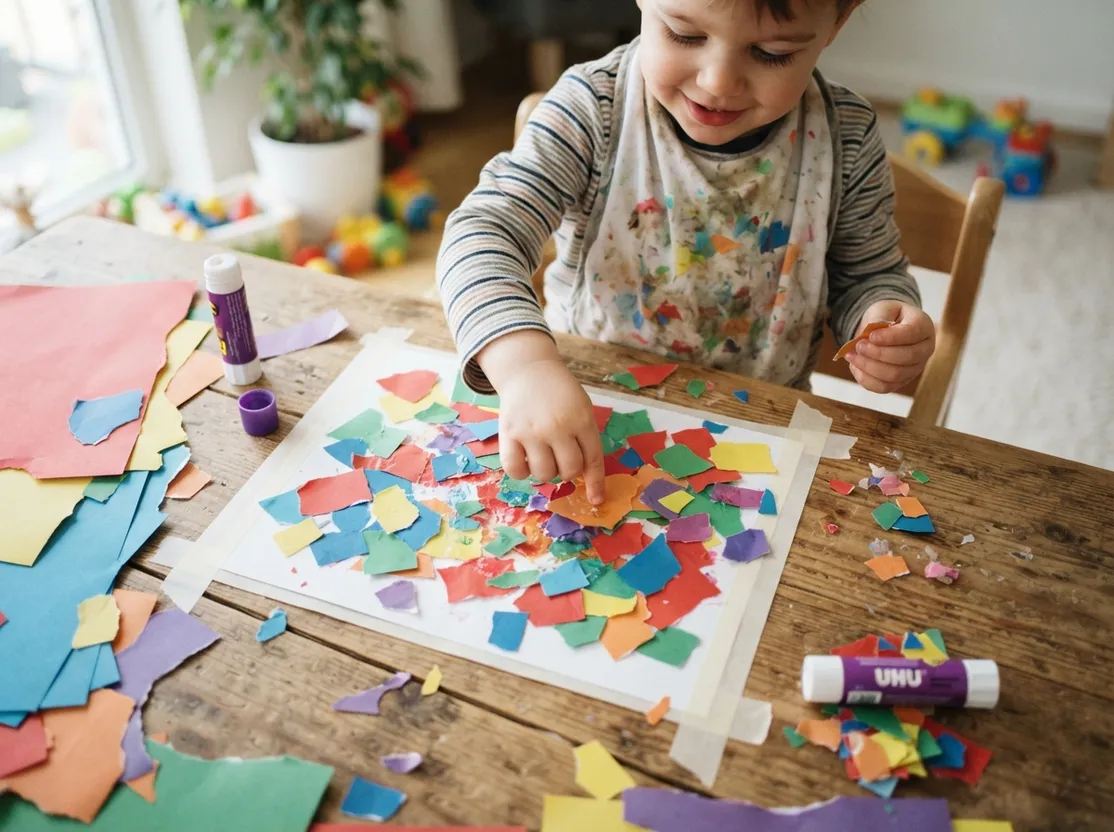
You'll need: a few sheets of colored construction paper, a glue stick, a blank sheet of paper.
Give your toddler the colored paper and let them tear it into small pieces — no need to guide this part. Squeeze glue or run a glue stick over sections of the blank paper. Let your toddler press the torn pieces on wherever they want, no pattern required.
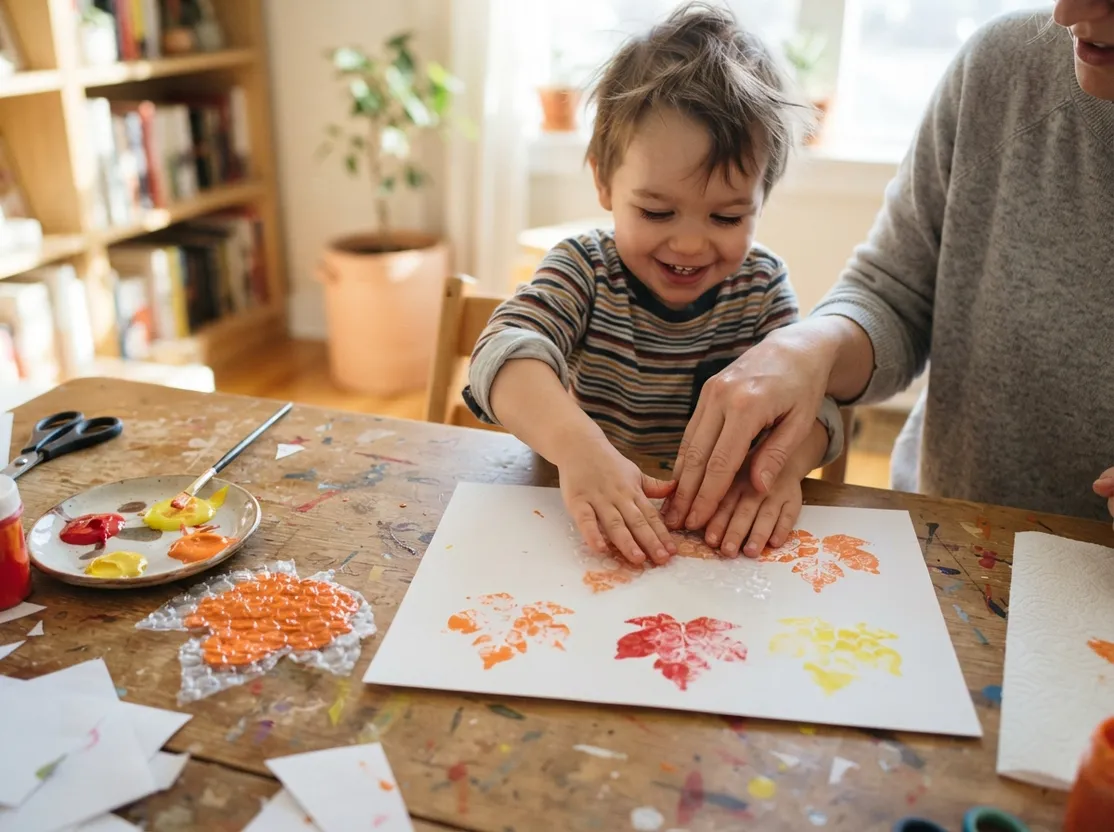
Bubble Wrap Leaf Stamping
You'll need: a sheet of bubble wrap, scissors, paint, paper.
Cut a rough leaf shape out of the bubble wrap. Brush or dab paint onto the bumpy side. Help your toddler press the painted side firmly onto a sheet of paper, then lift straight up to reveal the print.
Sticker Leaves
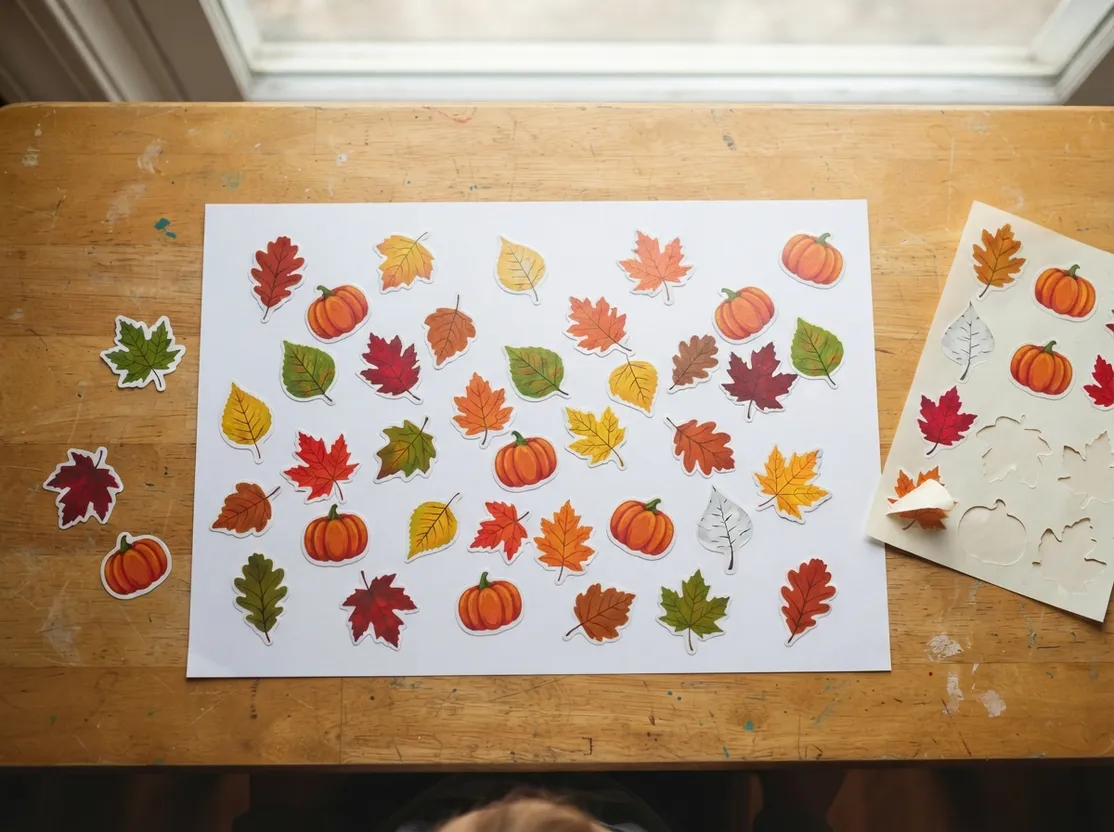
You'll need: leaf- or pumpkin-shaped stickers, a blank sheet of paper.
Peel one corner of each sticker loose ahead of time to make them easier for small fingers to grab. Hand your toddler the sheet of stickers and let them peel and stick each one anywhere on the page.
Painted Pinecone
You'll need: a pinecone, paint, paper.
Pour a small amount of paint onto a plate or tray. Let your toddler dip the pinecone into the paint or brush it on with a paintbrush. Roll the painted pinecone across a sheet of paper to leave a spiky print, then reload with paint and repeat.
Fall-Colored Macaroni Art
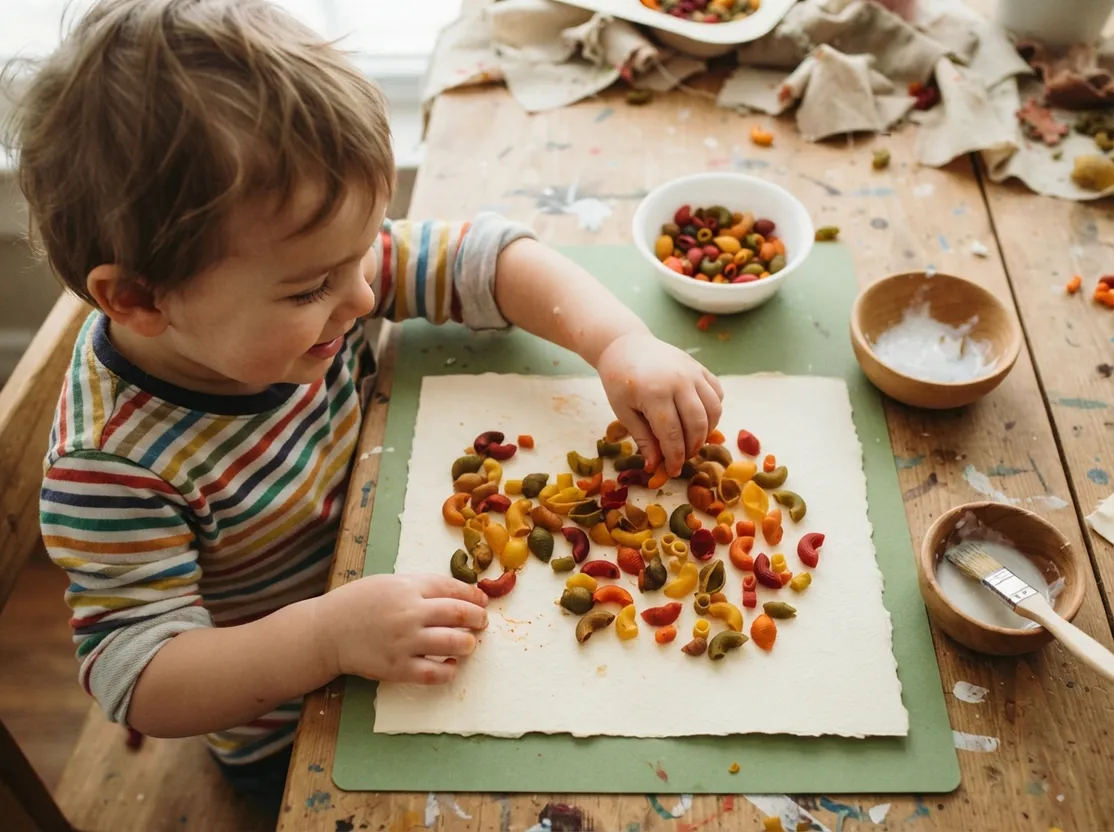
You'll need: dry macaroni, food coloring (or paint), glue, paper.
Dye the macaroni ahead of time by shaking it in a zip-top bag with a few drops of food coloring, then spreading it out to dry — or skip dyeing and let your toddler paint the noodles directly. Once ready, let your toddler glue the pieces onto paper in whatever arrangement they choose.
Fall Art for Toddlers Made From Nature
Fall art for toddlers gets a serious head start when the "supplies" are things you find on a walk — real leaves, acorns, and pinecones make every project feel a little more special.
Leaf Rubbing
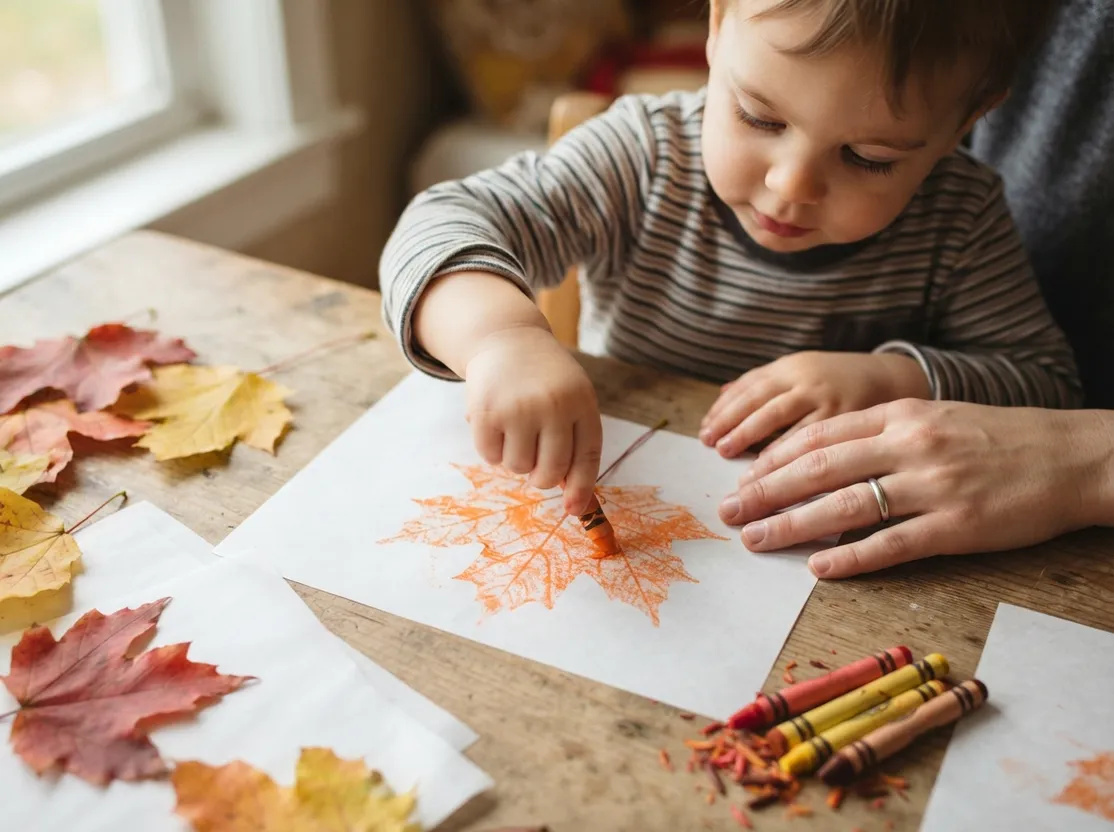
You'll need: a real leaf, thin paper, a peeled crayon.
Place the leaf veiny-side up on a flat surface. Lay a sheet of paper over it, holding it steady so it doesn't slip. Have your toddler rub the side of a peeled crayon firmly and evenly over the paper until the leaf's outline appears underneath.
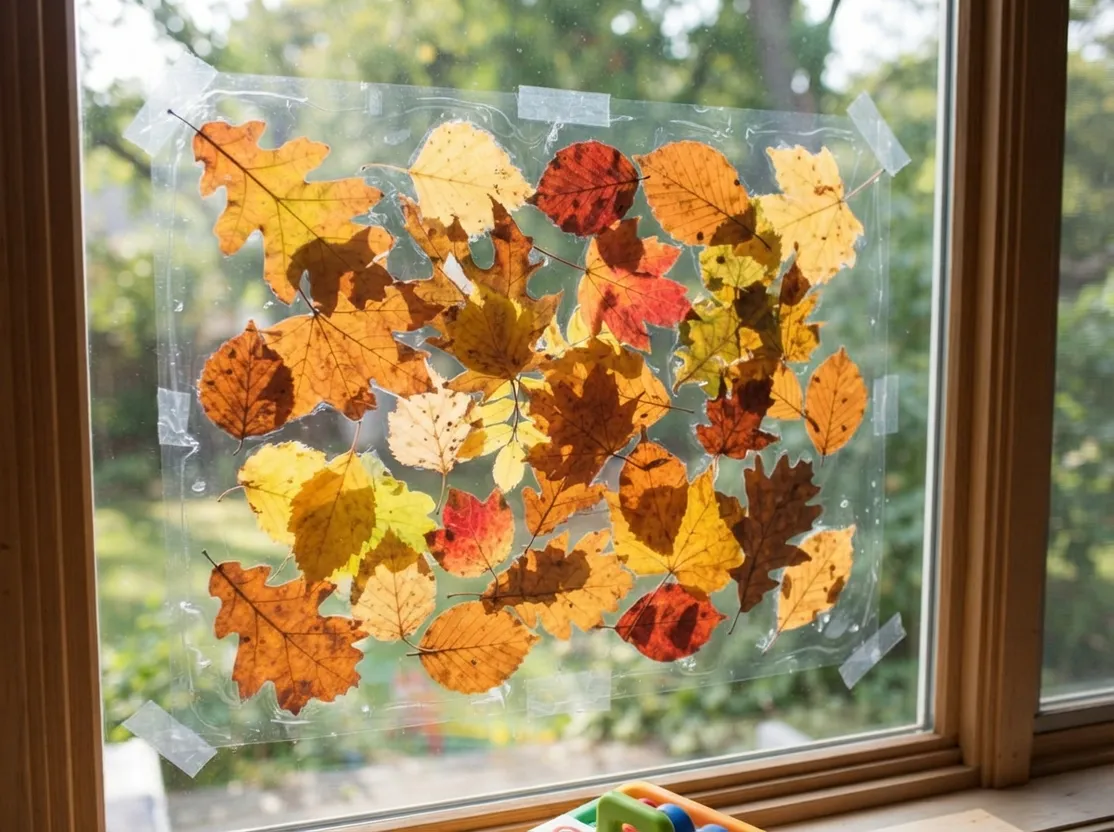
Contact Paper Leaf Window Art
You'll need: contact paper, tape, a handful of real leaves.
Cut a piece of contact paper and tape it to a window at your toddler's height, sticky side facing out. Hand over leaves one at a time and let your toddler press each one onto the sticky surface. If you want it to last, seal the front with a second piece of contact paper once they're done.
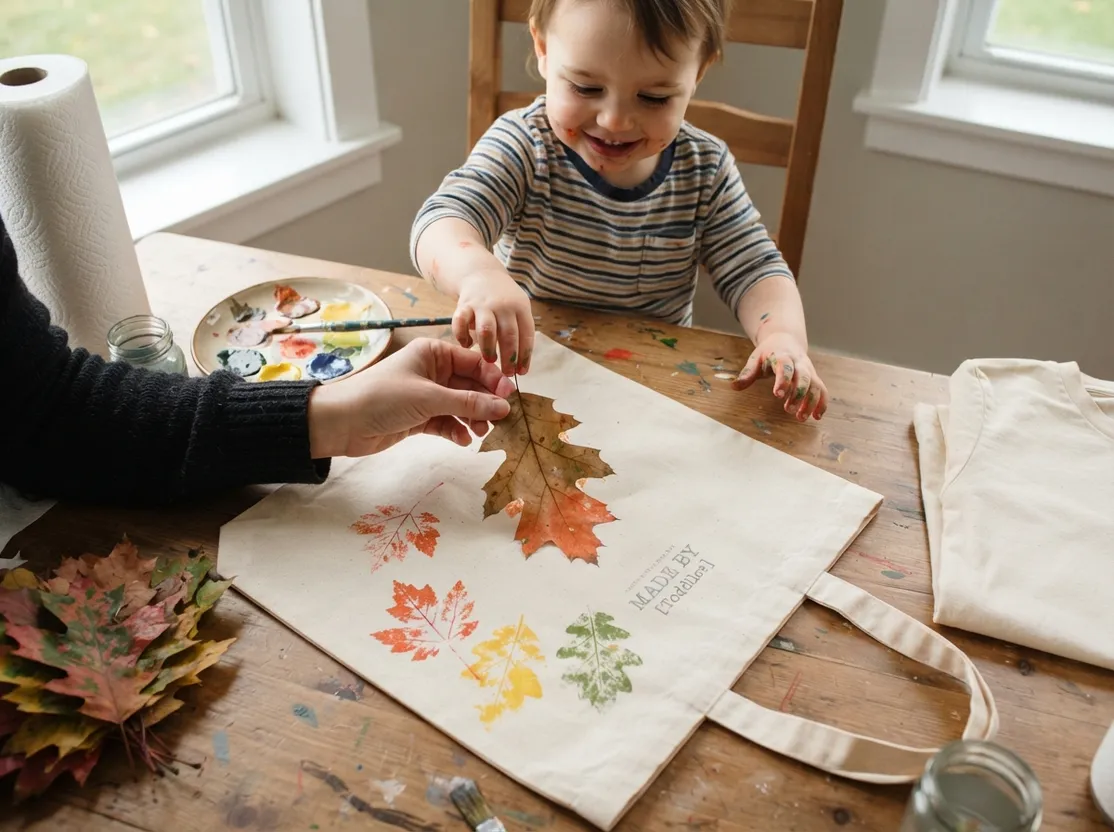
Leaf-Stamped Tote Bag or Shirt
You'll need: a real leaf, fabric paint, a paintbrush, a tote bag or plain shirt.
Brush fabric paint over the underside (veiny side) of the leaf. Press the painted side firmly onto the fabric with your toddler's help. Peel the leaf away slowly to reveal the print underneath, and let the fabric dry flat.
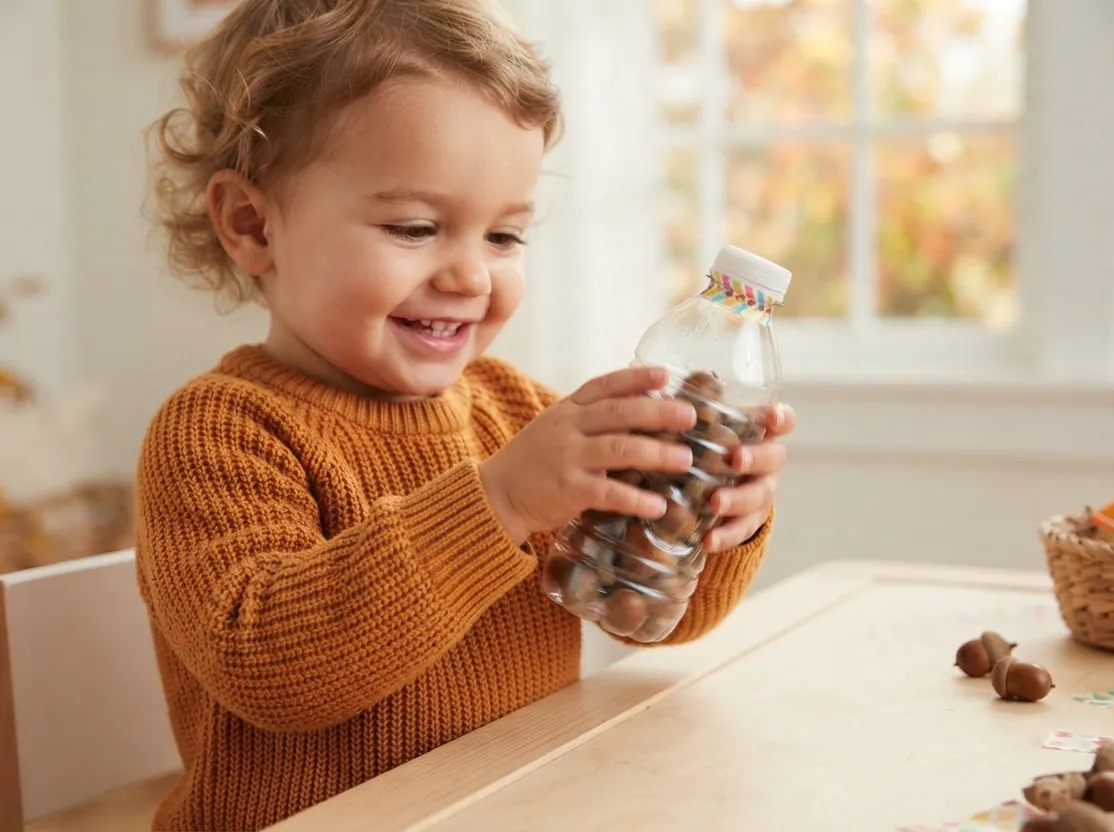
Acorn Shaker
You'll need: an empty water bottle or a sealed plastic container, 5-10 acorns.
Drop the acorns into the empty bottle. Screw the lid on tightly, and glue it shut for extra security if your toddler tends to twist lids open. Let your toddler shake it like a maraca to hear the rattle. (Supervise closely — this one's for toddlers past the mouthing stage.)
Nature Collage
You'll need: leaves, small twigs, flat seeds, glue, paper or cardboard.
Head outside for a short walk and let your toddler collect a handful of leaves, twigs, and seeds along the way. Back at the table, squeeze out some glue onto the paper. Let your toddler arrange and press the nature finds into the glue however they like.
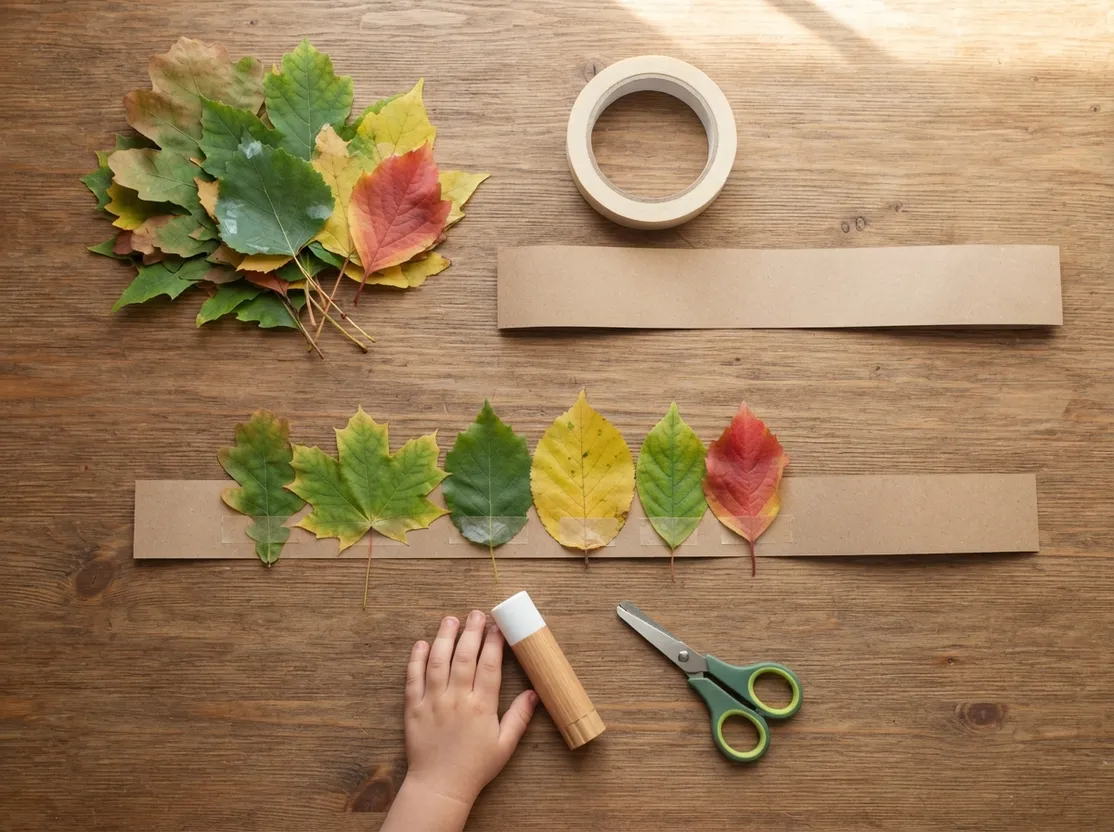
Leaf Crown
You'll need: a paper strip or plain headband, leaves, tape or glue.
Cut a strip of paper long enough to wrap around your toddler's head, or start with a plain paper headband. Let your toddler tape or glue leaves along the strip in a row. Fit it around their head and tape or staple the ends together to finish.
Pumpkin and Apple Fall Toddler Crafts
No fall craft ideas for toddlers list is complete without pumpkins and apples — they're cheap, they're everywhere in October, and they make excellent stamps.
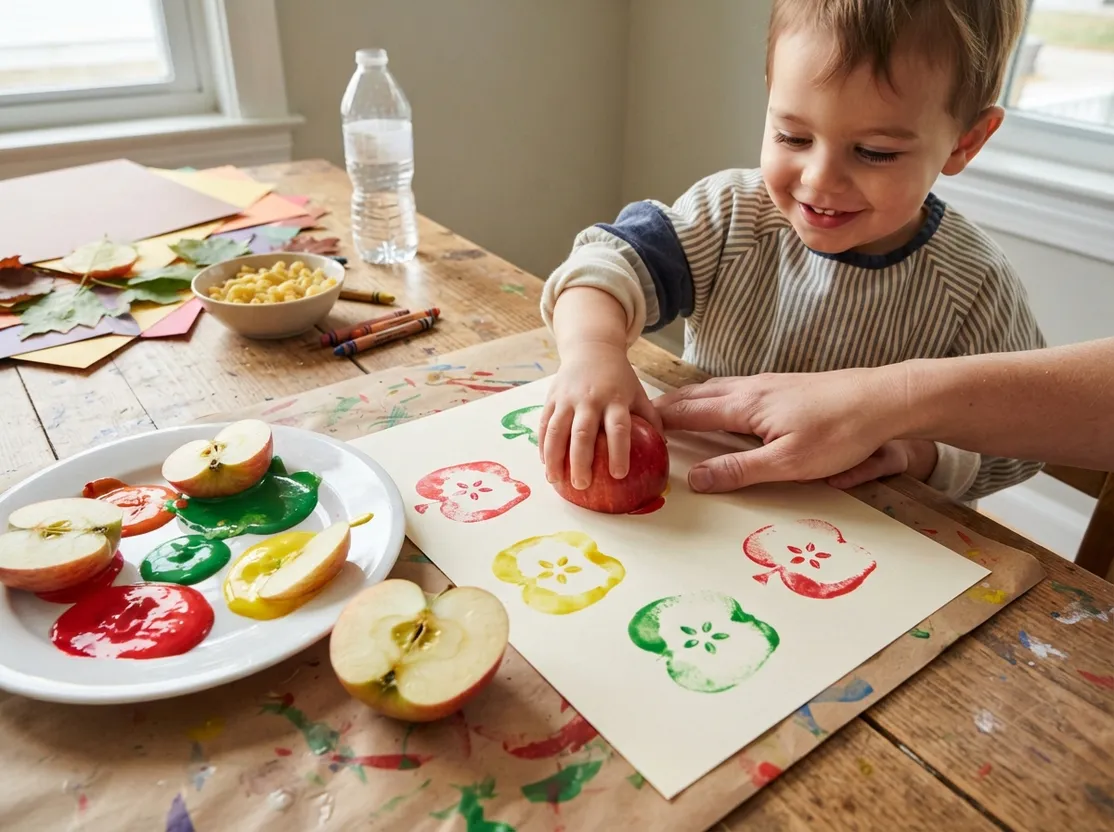
Apple Stamping
You'll need: an apple, paint, paper.
Cut the apple in half from the stem straight through to the bottom. Dip the cut side into a plate of paint. Help your toddler press the painted apple firmly onto paper, then lift it straight up to reveal the print — including the little star the core leaves behind.
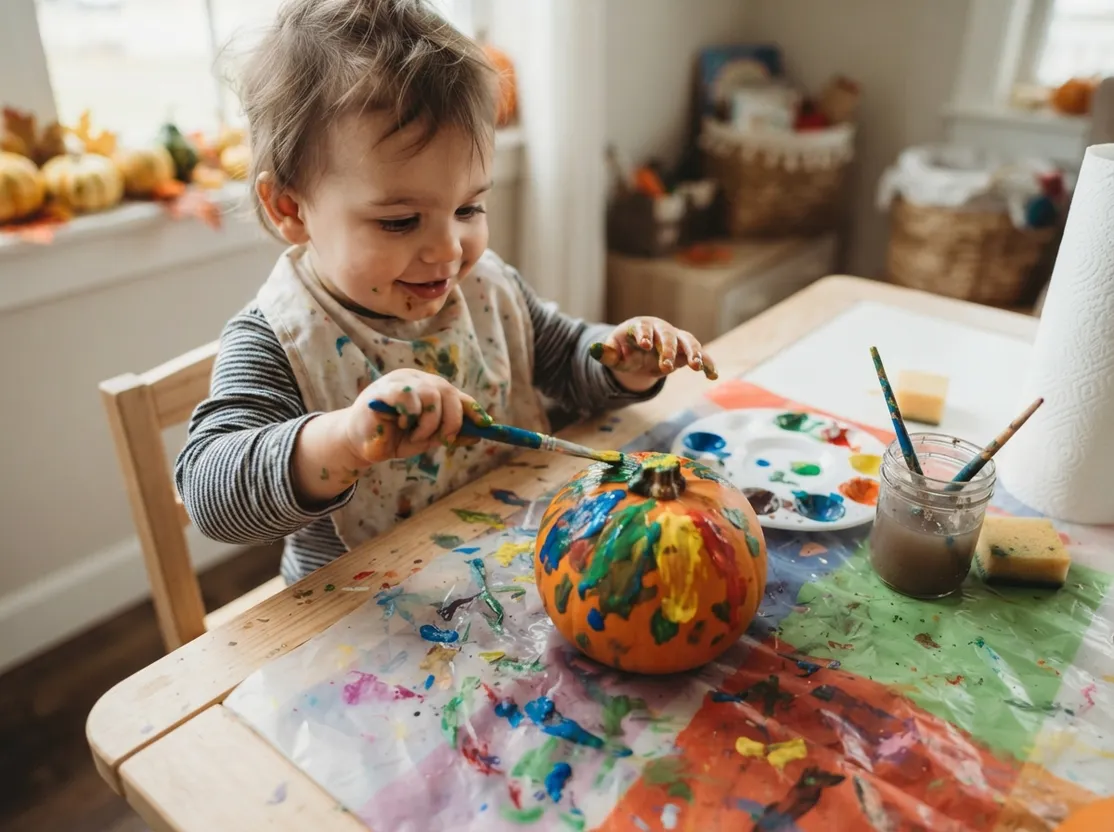
Pumpkin Painting
You'll need: a small pumpkin, paint, paintbrushes (or sponges, or just fingers).
Set the pumpkin on a covered table or tray. Hand your toddler a paintbrush, a sponge, or let them use their fingers directly. Let them paint the entire surface however they want, then set it somewhere safe to dry.
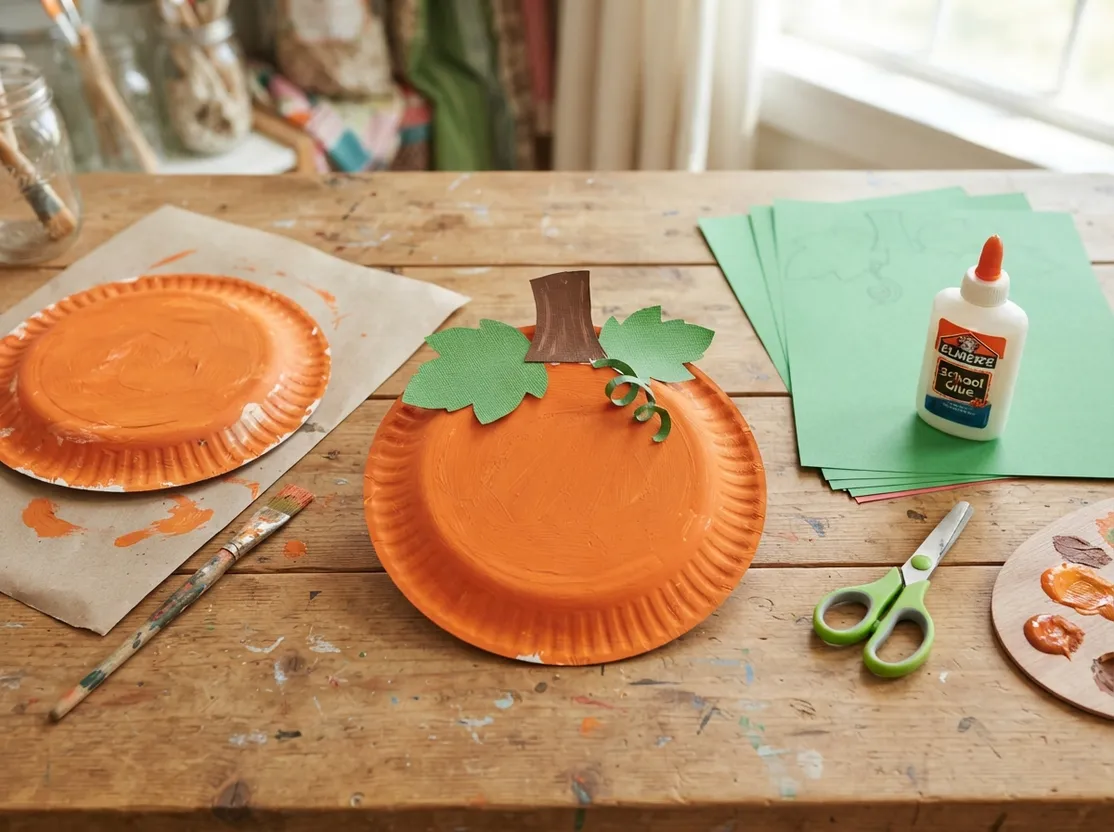
Paper Plate Pumpkin
You'll need: a paper plate, orange paint, green construction paper, glue.
Paint the paper plate orange and set it aside to dry completely. While it dries, cut a stem shape and a leaf or two from the green paper. Once the plate is dry, glue the stem to the top and add the leaves.
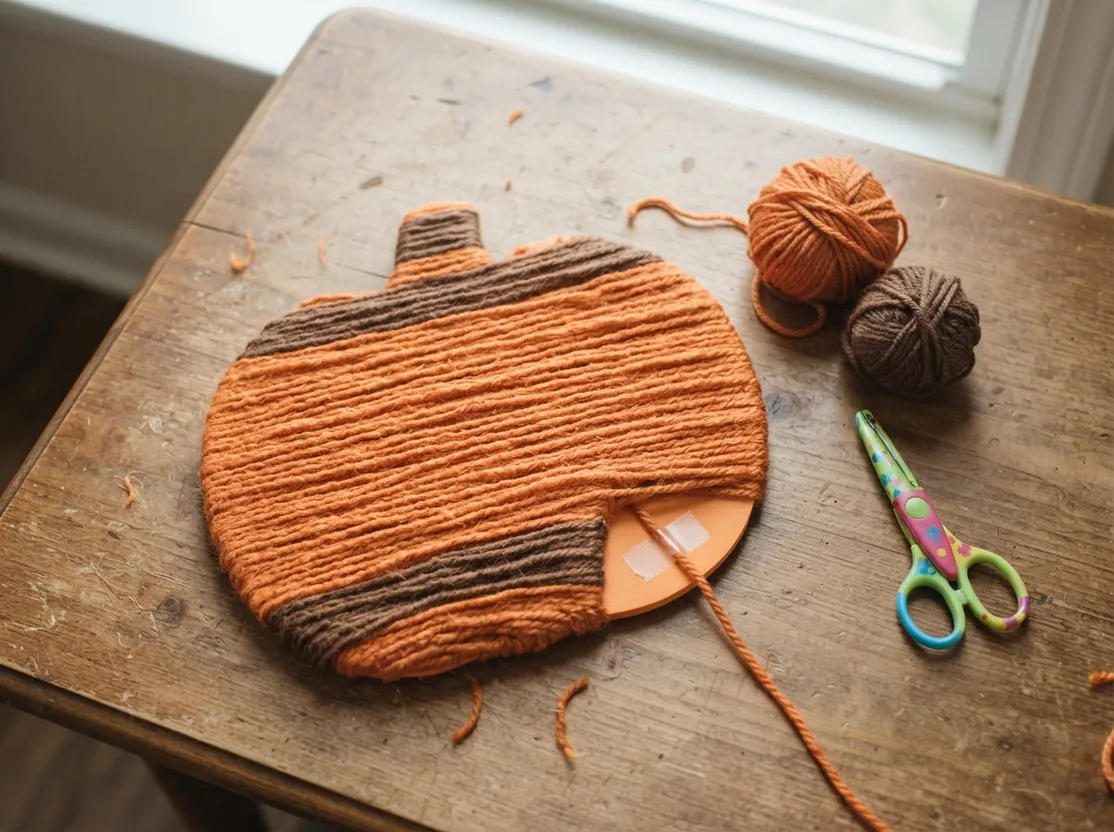
Yarn-Wrapped Pumpkin
You'll need: a foam or cardboard pumpkin cutout, orange and brown yarn.
Cut a small notch or tape down the end of the yarn to anchor it on the cutout. Show your toddler how to wrap the yarn around and around the shape until it's fully covered. Switch to a second color partway through if you want a striped effect, then tie or tape off the end.
Fingerprint Apple Tree
You'll need: paper, brown paint or marker (for the trunk), red and green paint.
Draw or paint a simple tree trunk with a few branches on the paper. Dip your toddler's finger into red paint and have them dot "apples" all along the branches. Switch to green paint for a few extra dots to fill in leaves.
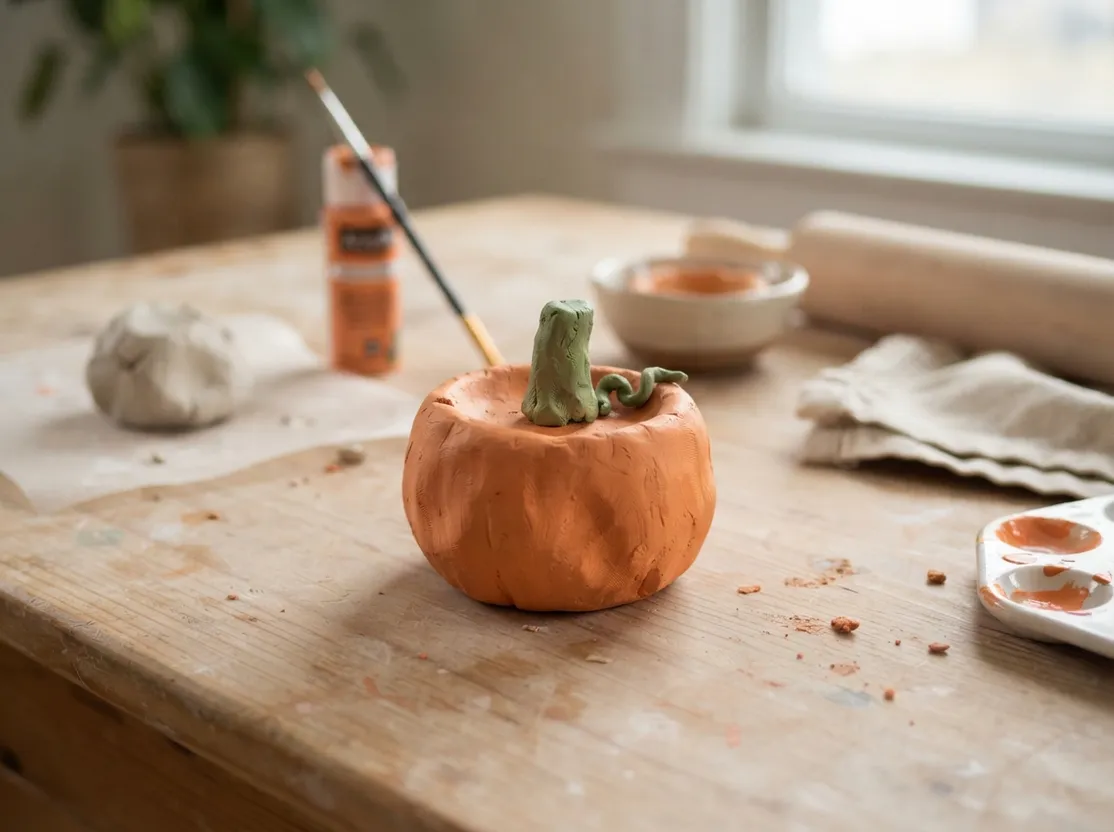
Pumpkin Pinch Pot
You'll need: play dough or air-dry clay, orange paint (optional).
Roll a ball of dough or clay in your toddler's hands. Show them how to push their thumb into the center and pinch the sides up and around to hollow it into a small pot shape. Roll a thin piece into a stem and press it onto the top to finish it off as a mini pumpkin.
Sensory Fall Crafts for Little Hands
If you're after autumn crafts for toddlers age 2 specifically, this is the category to start with. Most 2-year-olds are still exploring the world mouth-first, so these swap out small loose parts for taste-safe or purely sensory materials, letting you relax a little instead of hovering over every acorn.
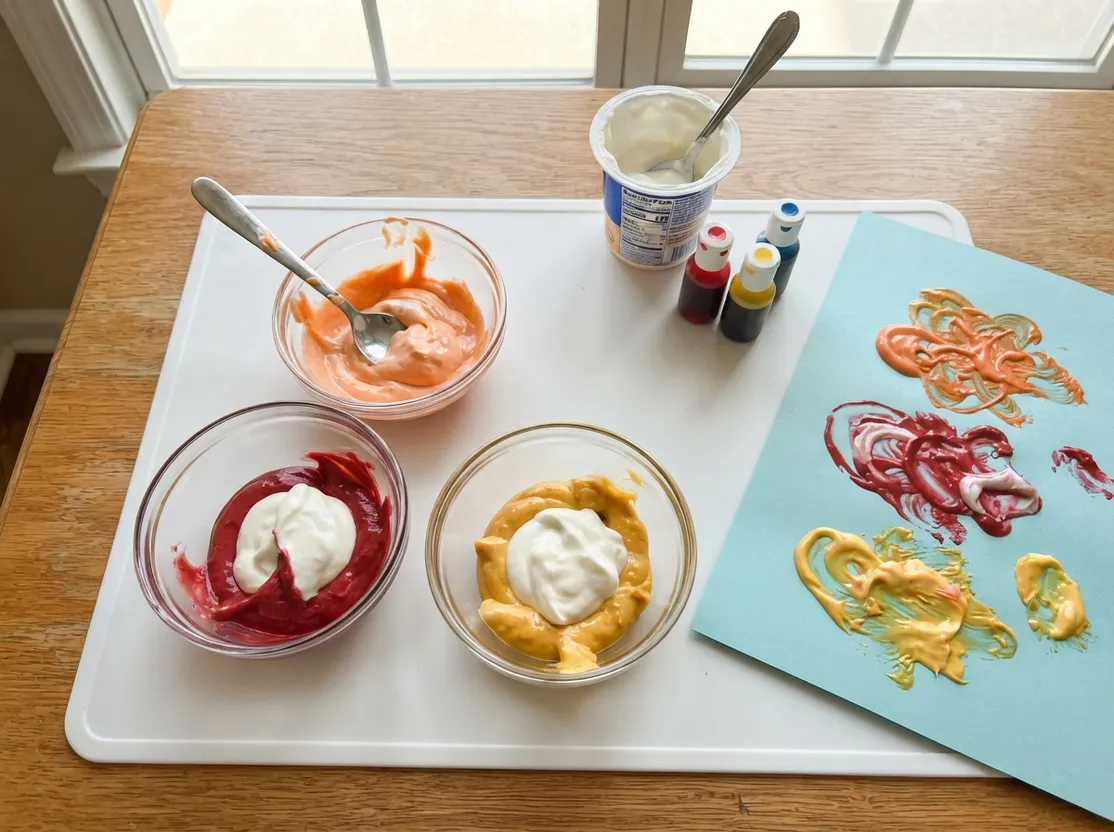
Taste-Safe Fall Paint
You'll need: plain yogurt, food coloring.
Spoon plain yogurt into two or three small bowls. Stir a few drops of orange, red, or yellow food coloring into each one until the color is even. Let your toddler finger-paint directly with it on a tray or piece of paper — no consequences if they take a taste.
Scented Autumn Play Dough
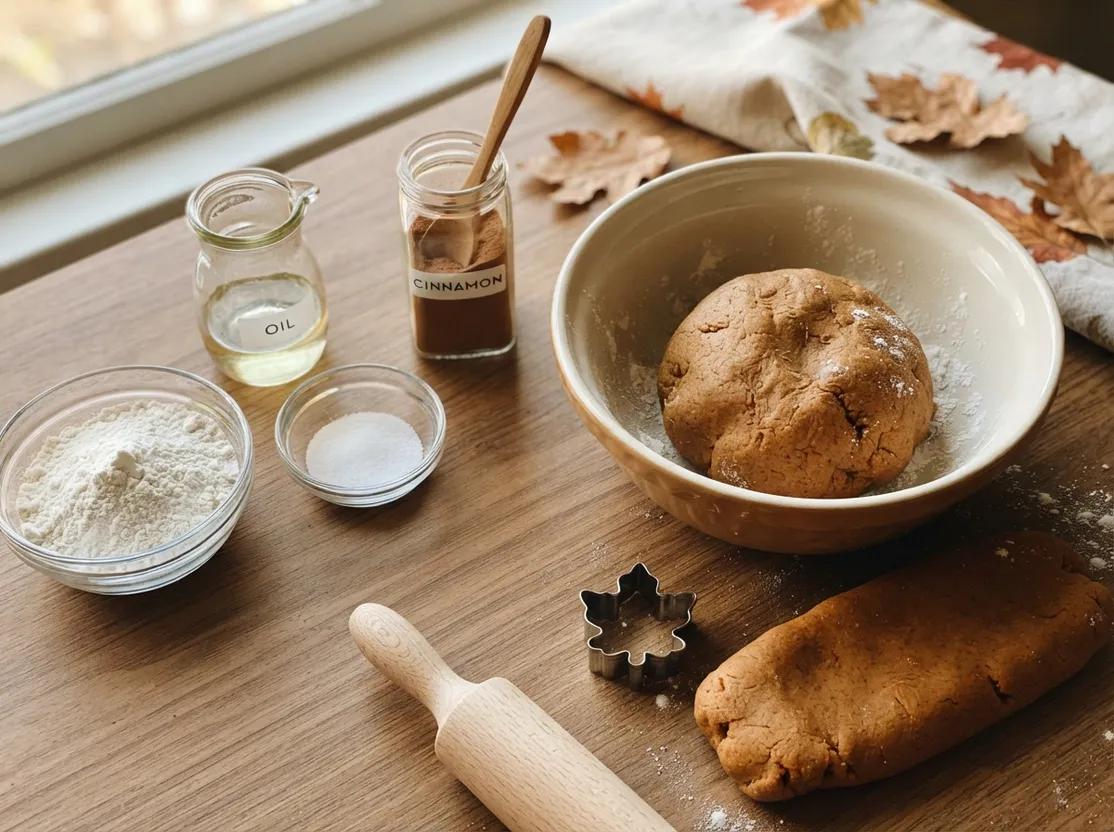
You'll need: flour, salt, water, a little oil, cinnamon or pumpkin spice.
Mix up a basic play dough recipe using flour, salt, water, and a splash of oil. Knead in a spoonful of cinnamon or pumpkin spice until the color and scent are worked through. Let your toddler squish, roll, and shape it freely — it's safe even if a little ends up in their mouth.
No-Mess Pumpkin Painting
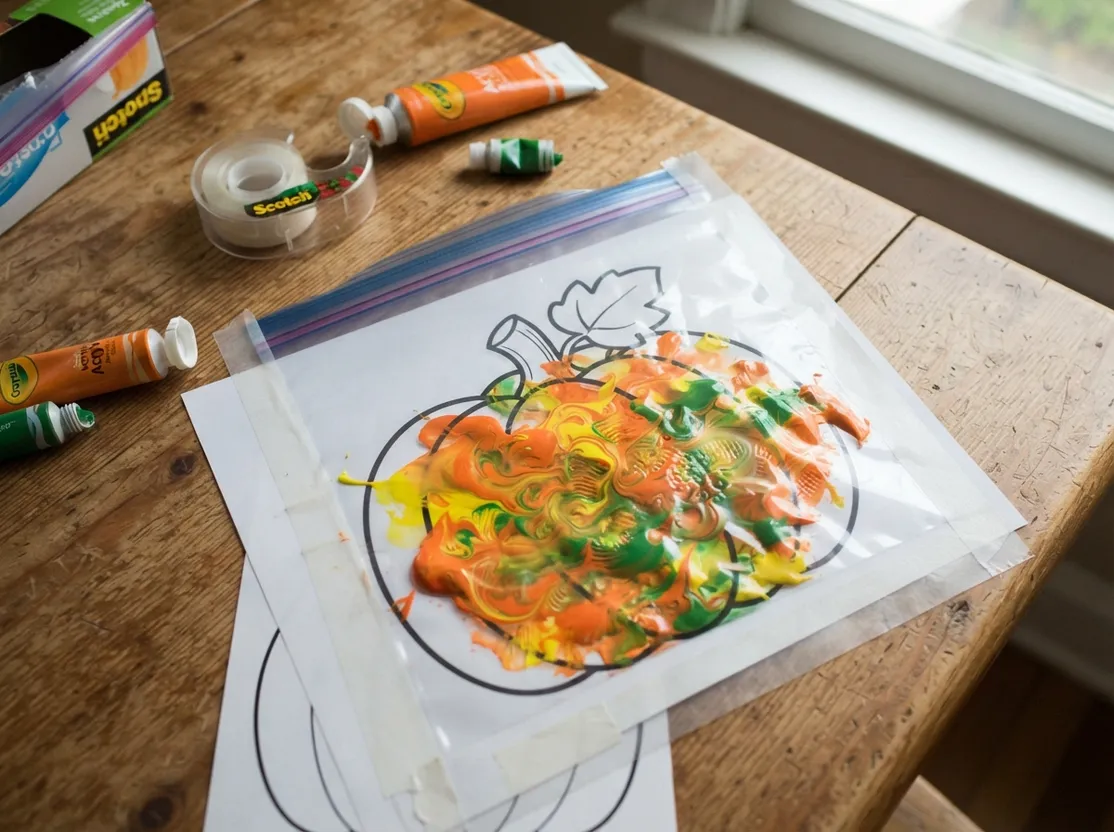
You'll need: a zip-top bag, paint, a printed pumpkin outline, tape.
Squeeze two or three colors of paint into a zip-top bag, then press out the air and seal it tightly. Tape the bag over a printed pumpkin outline so it lines up with the shape. Let your toddler squish and smoosh the paint around from outside the bag with their fingers.
Cute Fall Crafts for Toddlers
These are the cute toddler fall crafts you'll actually want to frame, mail to grandma, or keep in a memory box for way longer than a paper plate pumpkin.
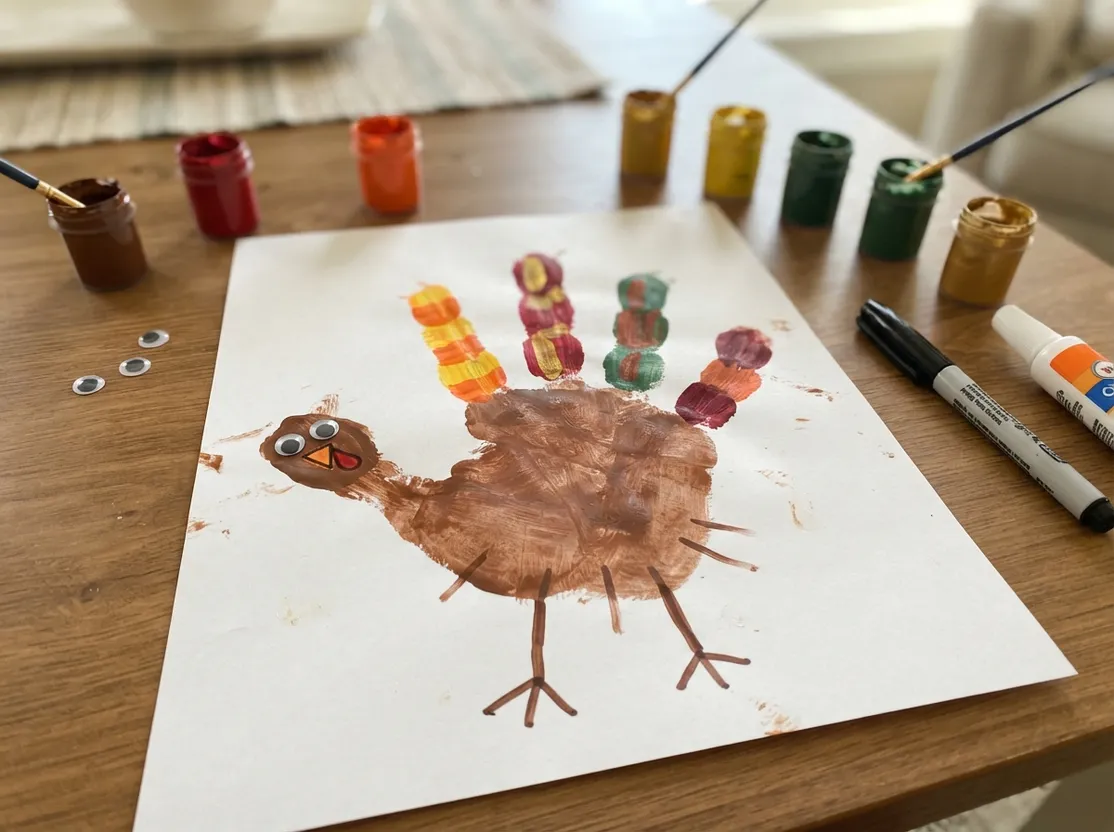
Handprint Turkey
You'll need: brown and fall-colored paint, paper, googly eyes, a marker.
Paint your toddler's palm and fingers brown, then press their hand firmly onto paper with fingers spread apart. Once it's dry, turn the thumb print into a turkey head and paint each finger a different fall color for feathers. Glue on googly eyes and draw a small beak with the marker.
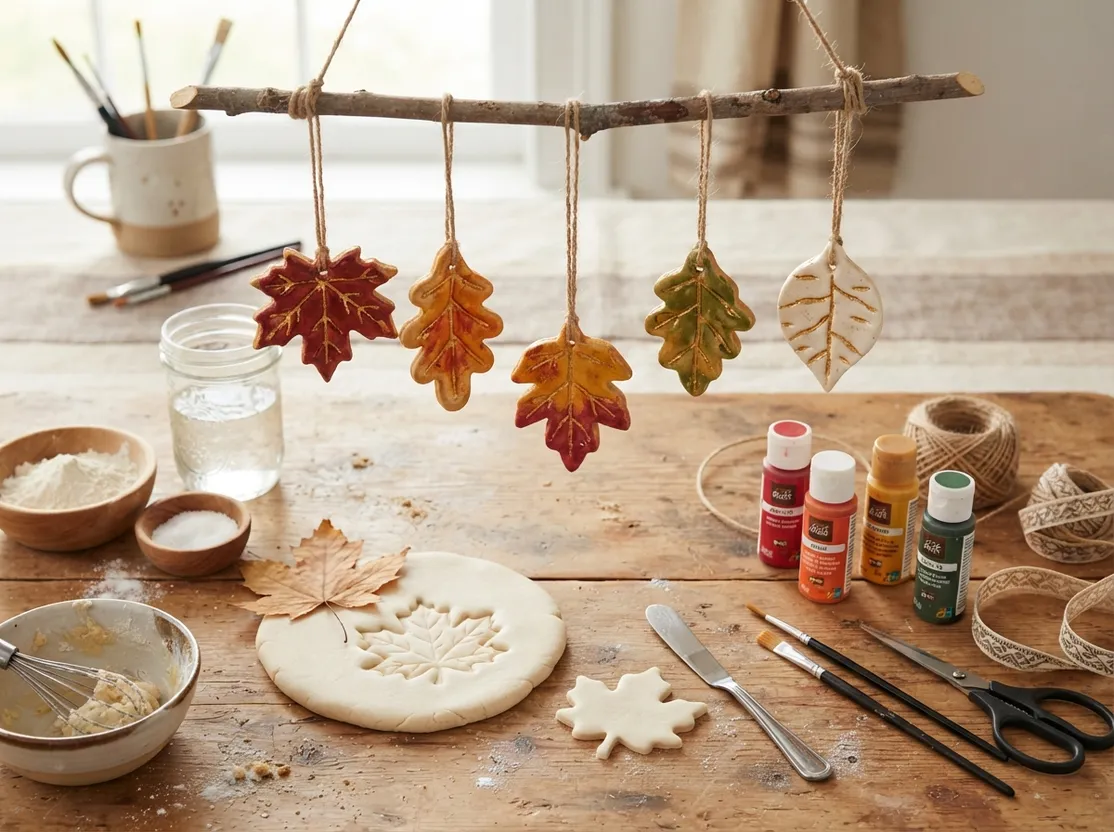
Salt Dough Leaf Ornaments
You'll need: flour, salt, water (for salt dough), real leaves, paint, ribbon.
Mix and roll out a batch of salt dough to about a quarter-inch thick. Press a real leaf firmly into the dough to leave a deep imprint, then lift it away and trim around the leaf shape with a butter knife. Bake according to your dough recipe, let it cool completely, then paint and thread a ribbon through the top for hanging.
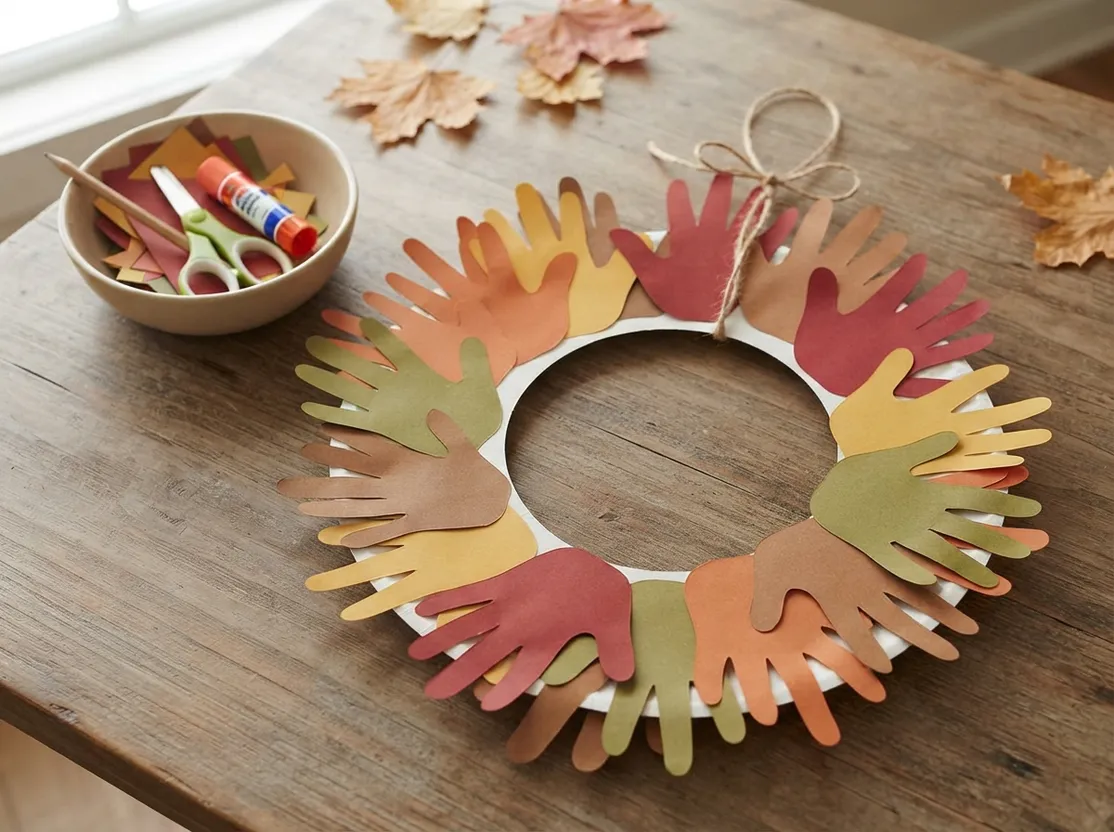
Fall Handprint Wreath
You'll need: construction paper in several fall colors, a paper plate, scissors, glue.
Trace your toddler's hand several times across different colors of paper and cut out each handprint. Cut the center out of a paper plate to leave a ring shape. Glue the handprints around the ring, overlapping the edges slightly, until the whole ring is covered.
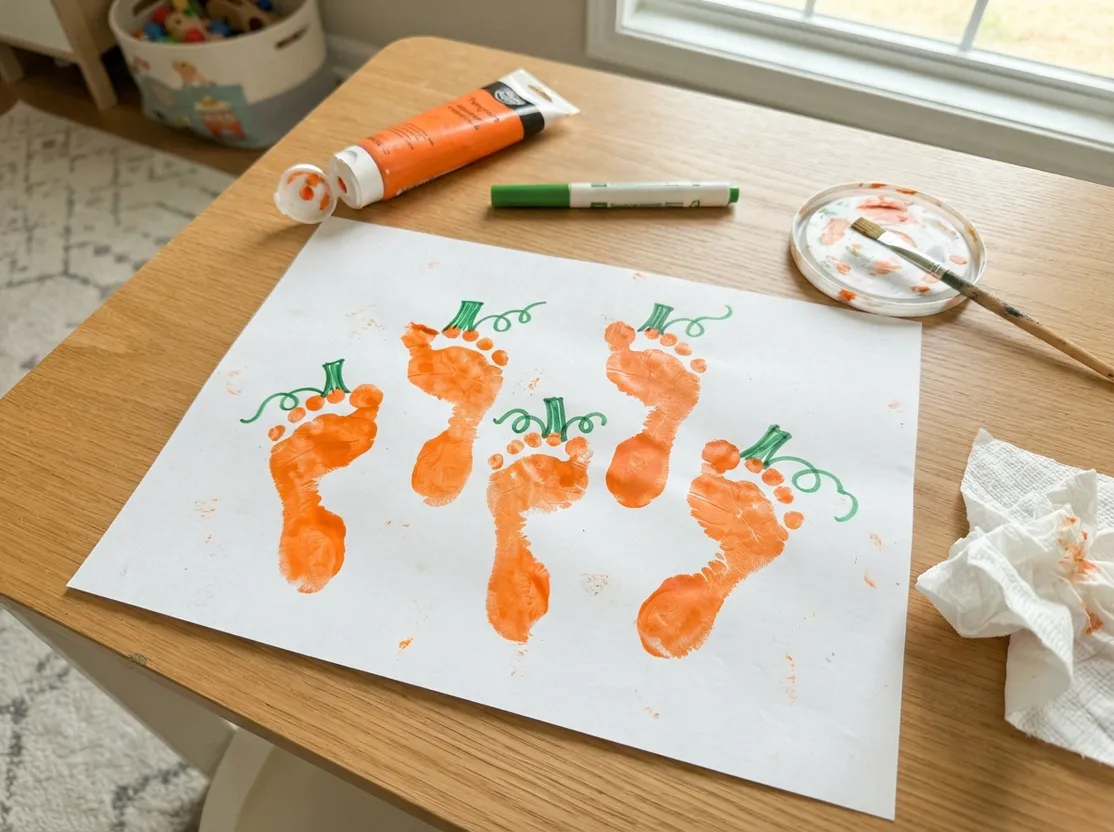
Footprint Pumpkin Patch
You'll need: orange paint, paper, a green marker.
Paint the sole of your toddler's foot orange and press it firmly onto paper to leave a footprint, heel first. Repeat a few times across the page to build a "patch." Once the paint dries, add a green stem and a curly vine to each footprint with the marker.
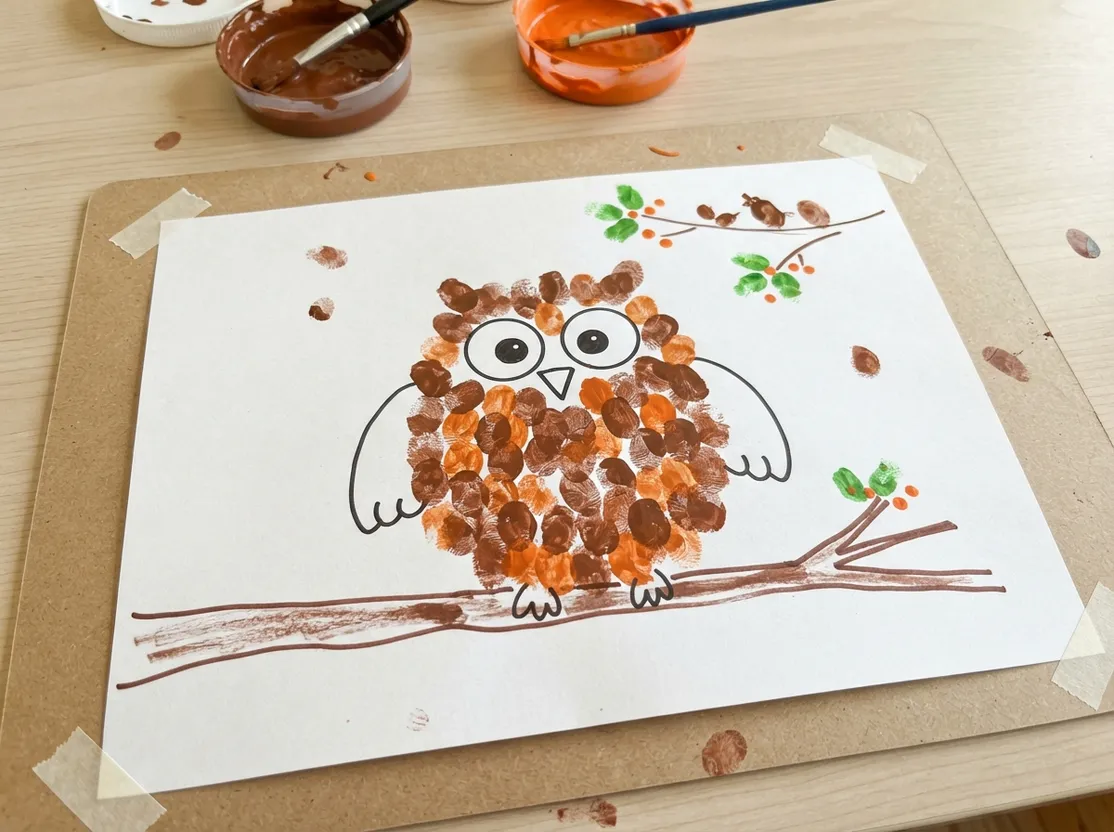
Fingerprint Owl on a Branch
You'll need: brown and orange paint, paper, a marker.
Have your toddler press a cluster of overlapping brown and orange fingerprints close together to form the owl's rounded body. Once it's dry, add wings, two eyes, and a small beak with the marker. Draw a simple branch underneath for the owl to perch on.
Pressed Leaf Bookmark
You'll need: a small leaf, clear contact paper, scissors, a hole punch, ribbon.
Press a small, flat leaf between two pieces of clear contact paper, smoothing out any air bubbles. Trim around the edges into a rectangle or bookmark shape. Punch a hole near the top and thread a short piece of ribbon through it.
Help your child thrive with playful learning
Turn screen time into real growth with Keiki's educational games.
Try KeikiTips for Fall Crafting With a Toddler
A few small habits make fall arts and crafts for toddlers go smoother for everyone involved — including you.
- Skip small loose parts under age 3. Acorns, buttons, pom-poms, and beads are choking hazards for a toddler who's still exploring with their mouth. Swap in torn paper or taste-safe materials instead.
- Prep before you start, not during. Cut the shapes, set out the paint, and lay down newspaper before you call your toddler over — a mid-craft supply hunt is where meltdowns happen.
- Let go of the Pinterest photo. The craft your toddler is proud of and the one that looks like the picture online are rarely the same thing, and that's genuinely fine.
- Keep sessions short. Ten to fifteen minutes is plenty for most toddlers. Ending on a high note beats pushing through to a bored, wiggly finish.
- Cover the table, not the child. A splat mat or old shower curtain under the workspace saves way more stress than trying to keep a toddler spotless.
- Follow their lead on the "finished" project. If they want to keep painting after the pumpkin is technically done, let the pumpkin become abstract art. The process is the actual point.